Minecraft Concept City Slideshow

Concept City:

Part 1/3

Part 2/3
Part 3/3

Video Walk-through

Friday, November 2, 2018

Friday Post October 26th


For this assignment I played a game called Dynamic Systems. In this game you have to use the given tools to make the ball go into the bucket. I took screenshots of my solutions and put them together into a slideshow. I used Premiere Pro to make the slideshow. I imported all the screenshots and then put them side by side in the sequence and I added a few transitions in a between. 

I pretty much just dragged random transitions in but some of the ones I used were: Cross Zoom, Slide, Split, Iris Box, Iris Box etc.

After this I made a title using the games title. I grabbed the title and then I shrunk it. I then took 10 screenshots of the ones I used and then I put them behind the title and added a Gaussian blur on them. I then added my name and I finished the title

Then I put some classical music (Beethoven's Moonlight Sonata 3rd Momement) on top and I finished the slideshow.

Thursday, October 18, 2018

Tuesday, October 16, 2018

Friday Post Oct 12 2018


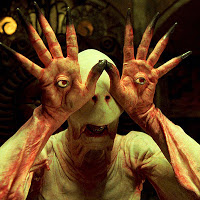
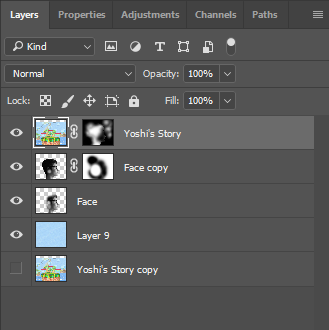
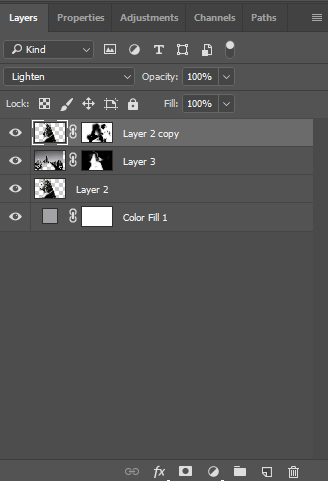
This process is called double exposure. This process gets an objects and exposes it within a background image. All I did was use the quick select tool to crop out the object and made a new layer with it. I then added a creepy forest background over it and then I selected the object layer and made a layer mask on the background with the silhouette of the object. I then duplicated the object layer and made a layer mask without any silhouette. I then used a black brush on the mask and just started getting rid of and adding stuff back.


A guy eating a muffin inside of a muffin. The process is the same as the first part.

Wednesday, October 10, 2018

Wednesday, September 26, 2018

How to get the photo sharing to work

Make sure you have 2 buttons, one labeled "download", and one labeled "upload", an image, and the "RealtimeDB" and "MediaDB" components:


Copy this block code (Make sure Button1 is the download button and Button2 is the upload):


Make a Cloudinary account and verify your email:


Go to your dashboard and copy and paste the Could name, API Key, and API Secret into thunkable:


Now go to Firebase, log in with your google account, and create a new project:


Next from the console, copy the API Key and Database URL (don't use mine) into Thunkable like I show below:


Next from the Firebase console, on the left side, go to Develop > Database and from there create a new database:

From there, at the top, switch to "Realtime Database"


Then go to the "Rules" tab and switch the Read and Write permissions to: "True"


Now test to see if it works. Go on your mobile and upload an image, wait a few seconds then click download to see if you can receive it. If that works than you're ready to try it with another phone :). ALSO: On the second phone make sure all your API keys and URL's are the exact SAME as your first ones.